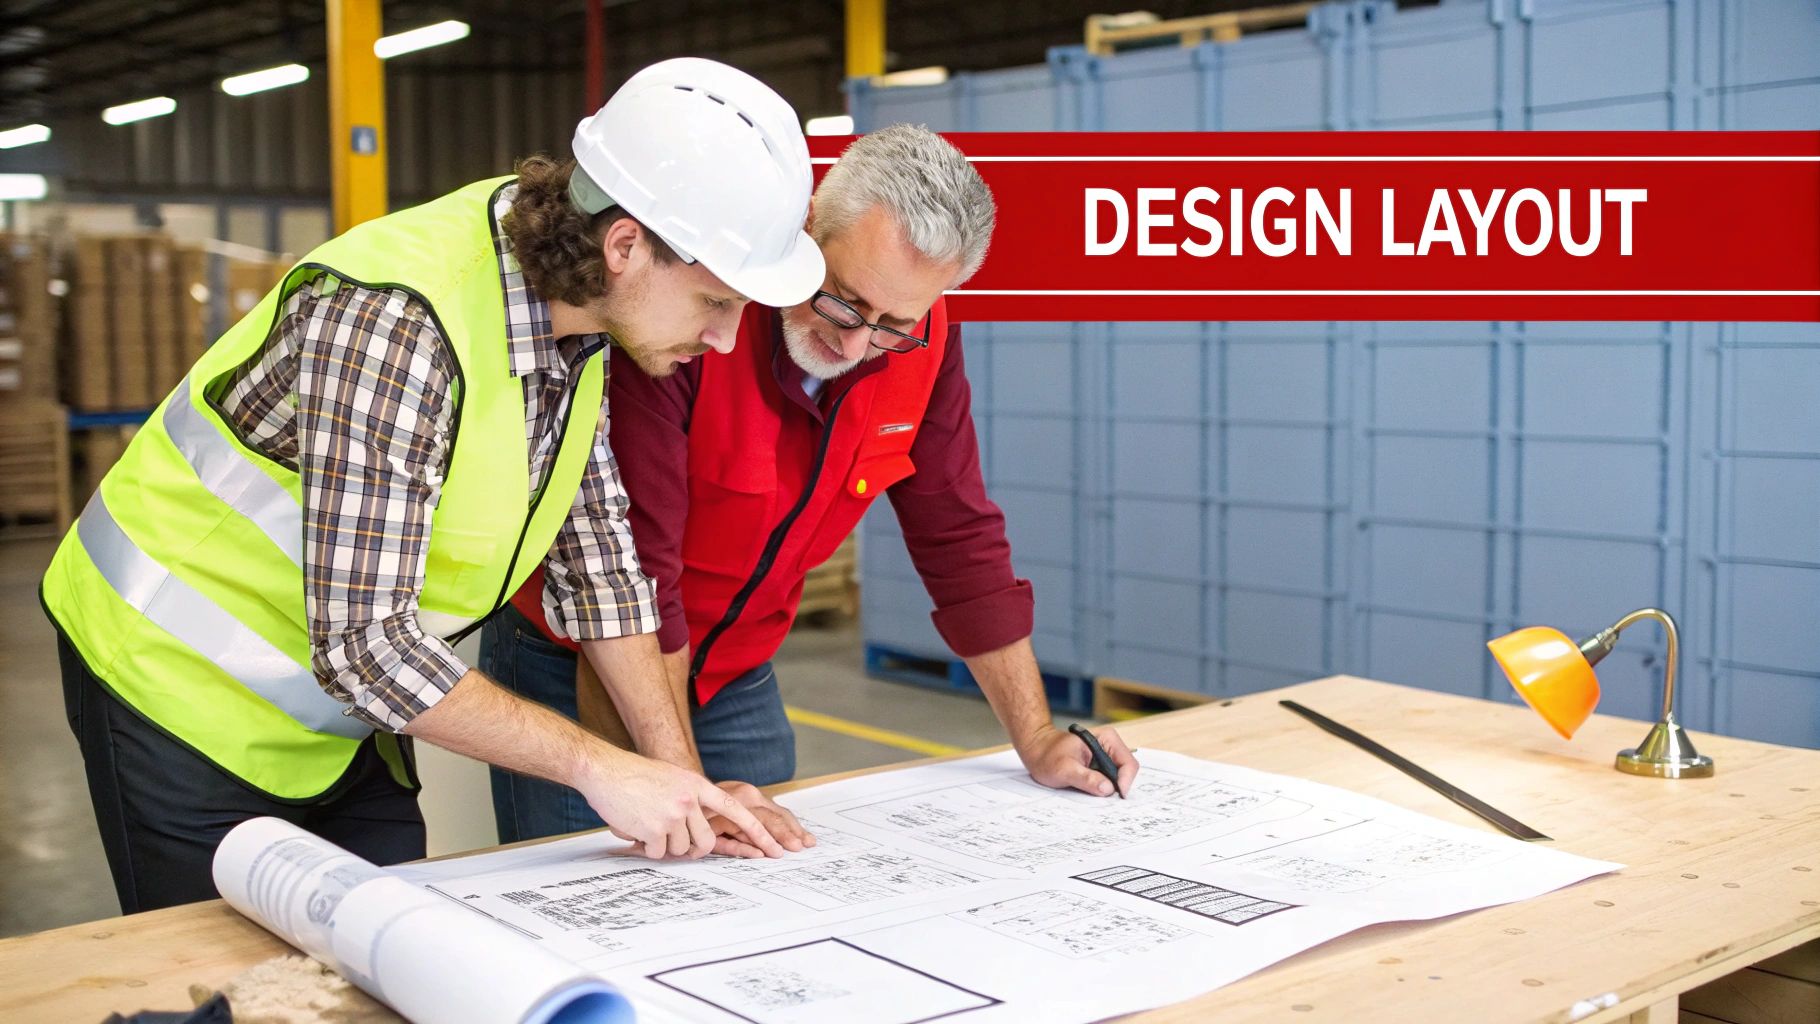
Putting in new warehouse racking is a lot more than just bolting steel together. It’s a strategic job that has to start with a rock-solid plan. A great installation depends on smart assessment and design before a single bolt gets tightened, making sure your new system is safe, efficient, and ready for whatever you throw at it.
A successful warehouse racking installation starts long before the gear even shows up on site. This is the stage where you head off future headaches, make sure you’re compliant, and set your whole operation up to run smoothly. Too many people rush this part, and it almost always leads to bottlenecks, safety risks, and a system that just doesn’t deliver a good return.
And right now, every square metre counts. With industrial and logistics vacancy rates in Australia at a record low, businesses are under huge pressure to maximise their existing space. This makes a well-planned racking installation more critical than ever.
Before you can even think about a layout, you need to understand the space you’re working with. A proper site assessment is more than just running a tape measure along the floor.
Start from the ground up. The strength and thickness of your concrete slab will dictate the load capacity for the entire system. You have to be certain it can handle the intense point loads from fully stocked racking uprights.
Next, look up. Get an accurate measurement of the clear ceiling height—that’s the distance from the floor to the lowest hanging thing, whether it’s sprinklers, lights, or beams. This figure tells you the absolute maximum height for your racking. And don’t forget to factor in how high your forklifts can actually lift.
Finally, map out every single obstacle. Get the exact location and size of columns, doorways, fire exits, and any utility panels. These are the fixed points that will shape your aisle widths and bay layout, so getting them right from the start is non-negotiable.
Your racking has to be built for the products you store and the way you move them. Digging into your inventory isn’t optional.
Here’s what you need to nail down:
Getting these details right ensures the system you choose actually fits how your business works. For a deeper dive, check out our tradie’s guide to industrial pallet racking.
Meeting compliance standards isn’t just about ticking boxes on a form; it’s about keeping your team safe. The main standard you need to know in Australia is AS 4084:2023 Steel Storage Racking. It lays out all the requirements for design, fabrication, and installation.
Following this standard is essential for both workplace safety and staying on the right side of the law. It covers everything from load ratings to the structural integrity of every component. On top of that, you need to look into local commercial building permit requirements, as many councils see racking as a permanent structure that needs official approval.
Getting expert advice can save you a world of trouble here. At Super Rack, our team offers expert advice to help you navigate the regulations and ensure your design is fully compliant from day one.
Picking the right type of racking isn’t just a minor detail in your warehouse racking installation; it’s one of the most critical decisions you’ll make for your entire operation. The right system can seriously boost your workflow and efficiency. Get it wrong, and you’re stuck with daily frustrations and bottlenecks.
This guide breaks down the most common systems we see in warehouses across Australia to help you choose wisely.
Your decision really comes down to three things: the type of products you store, how quickly they move, and the physical space you’re working with. There’s no single “best” system—only the one that’s best for your business.
There’s a good reason why selective racking is the most popular and versatile option out there. It gives you direct access to every single pallet, which is perfect for businesses with a massive variety of different products (SKUs) and fast turnover.
Think about a third-party logistics (3PL) provider juggling goods for multiple clients. One day it’s electronics, the next it’s pallets of clothing. Selective racking gives them the flexibility to grab any pallet, at any time, without having to shift others out of the way. It’s a classic First-In, First-Out (FIFO) friendly system.
At Super Rack, we see countless businesses thrive with selective racking because it’s so simple and adaptable. It’s an excellent starting point for most warehouses, and our superior quality steel ensures it stands up to the demands of a busy operation.
The only real trade-off? Selective racking needs more aisle space compared to high-density options. This means it offers the lowest storage density, a key point to consider if floor space is your biggest headache.
When your main goal is to cram the maximum amount of product into the smallest possible footprint, high-density systems are what you need. These are brilliant for businesses that store huge quantities of just a few different products.
For instance, a beverage distributor with thousands of pallets of the same soft drink would see huge benefits from drive-in racking. They can pack the product in tight, making incredible use of their warehouse volume.
To figure out the best setup for your products, you can explore our full range of pallet and warehouse racking solutions.
Let’s face it, some products just won’t sit nicely on a standard pallet. For these unique storage challenges, you need a specialised system designed for the job.
Cantilever Racking is the hero for storing long, bulky, or awkwardly shaped items. Picture a timber yard with long planks of wood, a plumbing supplier with stacks of PVC pipes, or a steel fabricator holding metal beams. Cantilever racking has no front columns getting in the way, providing wide-open access for easy loading and unloading.
Choosing a system like this not only makes storage possible but also makes it far safer and more organised. It prevents product damage and makes stocktake a much simpler task.
At Super Rack, our competitively priced cantilever systems are built tough to handle these demanding loads. And with fast nationwide delivery, we can get your site organised quickly. Making the right choice from the start ensures your racking is a long-term asset, not just a short-term fix.
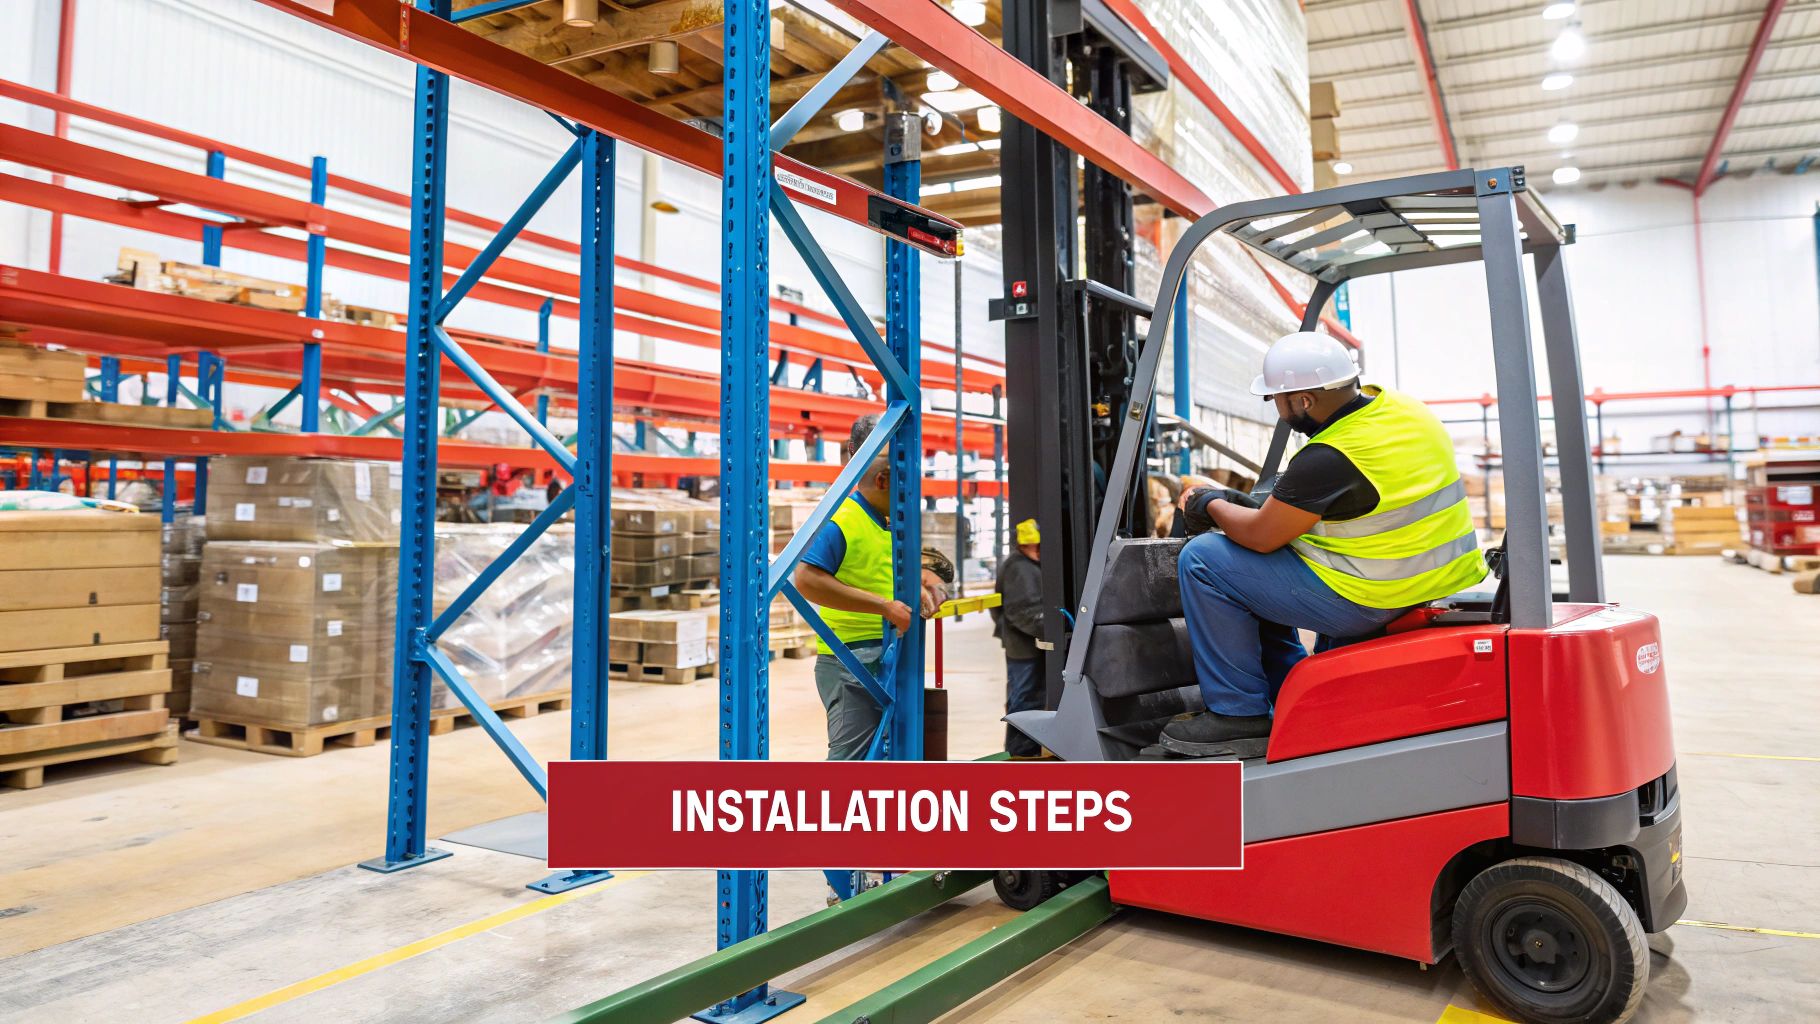
Once your racking components arrive and the planning is squared away, it’s time for the physical warehouse racking installation. This is where the careful design on paper becomes a functional, safe storage structure right on your warehouse floor. It’s a job that demands precision from the first chalk line snapped to the final anchor bolt being torqued.
Trying to rush this stage is a recipe for disaster. It can lead to misaligned bays, wobbly structures, or a system that just doesn’t fit the approved layout. Getting it right the first time saves a mountain of rework and, more importantly, keeps your team safe.
Before a single frame goes up, the installation area needs to be totally clear and clean. Get rid of all debris, old equipment, or anything else that could trip someone up or get in the way. A clean worksite is a safe worksite. Simple as that.
Next, you’ll transfer your layout from the plans onto the concrete. Use a chalk line to snap out exactly where each racking row will stand. These lines are your guide for the entire build, so accuracy is everything. Double-check your measurements for aisle widths, making sure you’ve left enough clearance around building columns, fire exits, and doorways.
The vertical heart of your racking system are the frames, also known as uprights. To start, you’ll lay these down and securely bolt the footplates to the bottom of each one. These footplates are what spread the load onto the concrete and provide the critical points for anchoring.
With the footplates on, the first frame is carefully lifted into a vertical position. Grab a spirit level and check that it’s perfectly plumb (that is, straight up and down) on both faces. This step is non-negotiable. An out-of-plumb frame compromises the stability of the entire row.
Once that first frame is standing and temporarily braced, you’ll connect it to the second frame using the first level of horizontal beams. This creates your initial, stable bay. These first few beams set the alignment for the whole row, so they must be perfectly level.
With your foundation bay secure and perfectly square, you can start adding the rest of the beam levels. Work your way up the frame, installing beams at the heights you mapped out in your design plan. Every beam should slot firmly into the teardrop or keyhole connectors on the uprights.
Here’s a critical safety step: make sure every single beam is correctly seated and secured. After you place a beam, give it a firm tap with a rubber mallet to ensure it’s fully engaged in the connector. Then, immediately install the safety pins or locking clips that came with your system.
I can’t stress this enough: forgetting to install safety pins is one of the most common—and dangerous—mistakes in racking installation. These little clips stop a beam from being accidentally knocked out by a forklift, which could trigger a catastrophic collapse.
A racking system that’s just sitting on the floor is an accident waiting to happen. To guarantee its structural integrity and comply with Australian Standard AS 4084:2023, every single frame must be securely anchored into the concrete floor. This is what stops the racking from tipping over, either under a full load or during an accidental impact.
The process involves drilling holes through the footplates directly into the concrete slab, going to the specific depth and diameter required by the anchor bolt manufacturer. Clear the dust out of the holes, then insert the anchor bolts and tighten them to the correct torque setting. As a rule of thumb, each footplate needs at least two anchors.
This infographic breaks down the key safety and compliance steps that guide the entire installation process, from the first checks to the final sign-off.
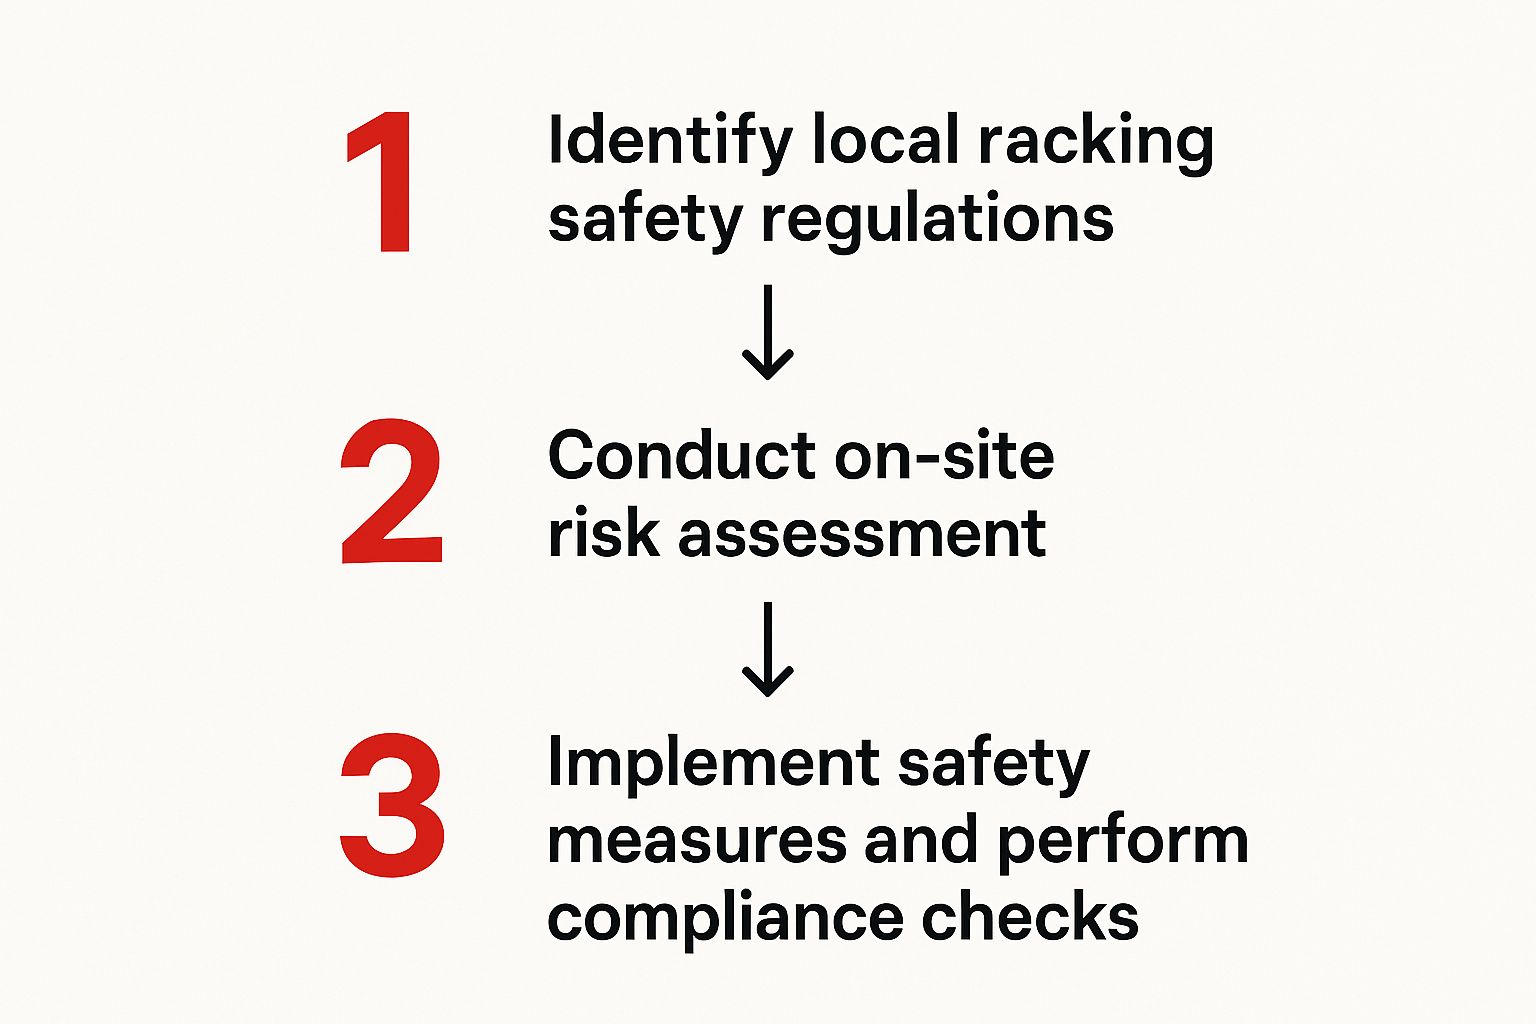
This flow, from understanding the rules to putting checks in place on-site, ensures every part of the safety puzzle is addressed throughout the project.
This focus on strong, scalable infrastructure isn’t just for warehouses. Take the Australian data centre rack market, for instance—it’s projected to grow significantly. This growth points to a wider industrial trend toward high-density, efficient, and secure rack systems, built on the same principles as a professional warehouse racking installation. You can read the full analysis on data centre infrastructure trends.
While assembly might seem straightforward, the expertise of professional installers ensures every component is correctly fitted, levelled, and secured according to Australian standards. At Super Rack, our nationwide service connects you with experienced teams who can guarantee your installation is done safely, efficiently, and in full compliance. Contact us today for expert advice on your installation project.
The job isn’t done just because the last bolt is tight. A professional warehouse racking installation is only truly finished once it’s been thoroughly inspected and signed off as safe and compliant. This final walkthrough is your most important guarantee that the structure can handle its intended loads and that your team has a safe place to work.
Skipping these checks is a massive risk. You’re exposing your business to equipment failure, damaged inventory, and worst of all, serious workplace accidents. A detailed post-installation audit confirms every component is correctly installed according to Australian Standards, giving you complete peace of mind.
Think of this as your final quality control. Walking through the newly installed racking with a critical eye lets you catch small issues before they become big, expensive problems. This needs to be a methodical process, covering every single bay.
Here are the absolute non-negotiables to check:
A thorough audit isn’t about finding fault; it’s about ensuring safety. A well-installed system from a quality supplier like Super Rack should pass these checks easily, but it’s your responsibility to verify it.
Beyond the core structure, several add-on components are vital for protecting your new racking from the daily bumps and scrapes of warehouse life. Forklift impacts are one of the most common causes of damage, but these additions can make a huge difference.
Upright protectors are steel guards installed around the base of the uprights, especially in high-traffic areas. They act as a sacrificial buffer, absorbing the force of a collision and protecting the structural column. Similarly, end-of-aisle guards provide robust protection for the most vulnerable part of a racking row—the end frame.
These aren’t optional extras; they are a smart, cost-effective way to prevent a catastrophic failure from a minor accident. The cost of a few protectors is tiny compared to replacing an entire bay of damaged racking and all the stock it holds. For more on maintaining a safe system, check out our guide on pallet rack inspections and maintenance.
Compliance with Australian Standards means every single racking bay must have a clearly displayed Safe Working Load (SWL) sign. This sign is arguably the most important piece of information for your forklift operators and warehouse staff.
The SWL sign clearly states:
It’s a legal requirement, but more than that, it’s there to prevent overloading—the number one cause of racking collapses. When you consider that a warehouse racking installation can be a significant investment, protecting that investment with clear signage is a no-brainer.
To make sure your team is well-versed in the specific rules for your setup, consider implementing comprehensive regulatory compliance training. Proper training ensures everyone understands and respects these critical load limits, making your warehouse a safer, more productive place. Once these final checks are ticked off, you can be confident your new system is ready for work.
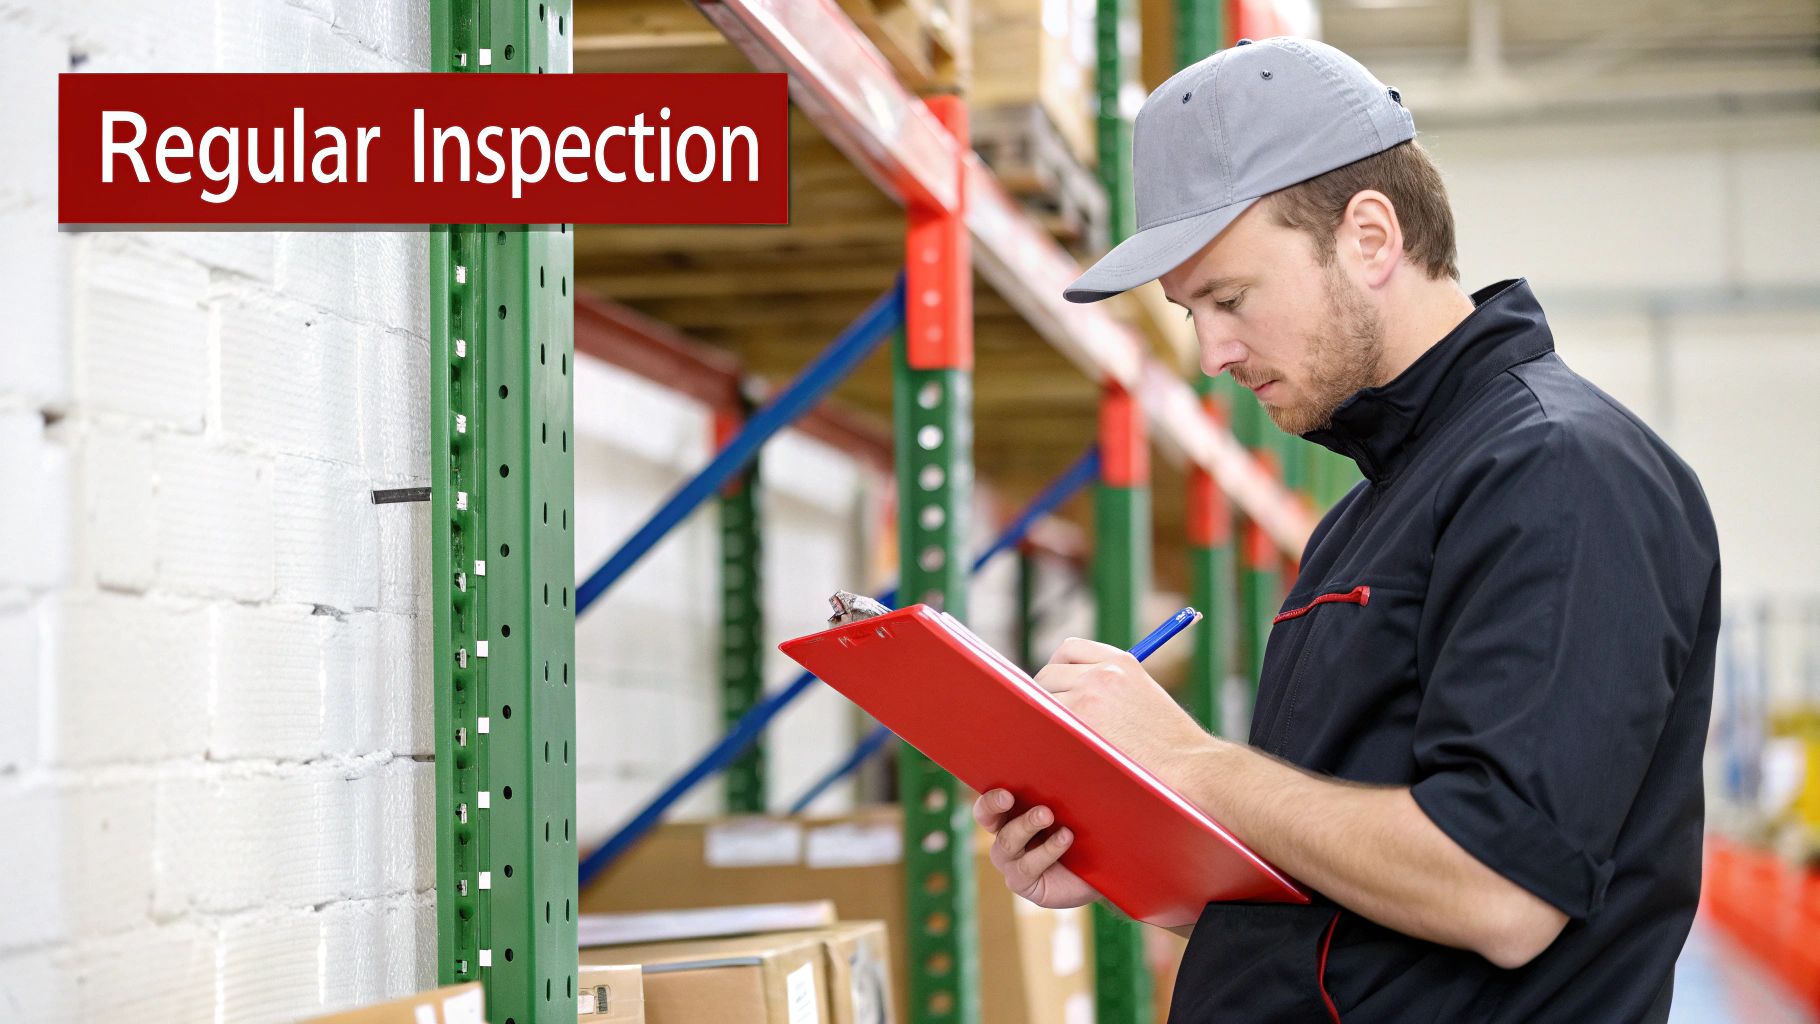
Your responsibility doesn’t end once the last bolt is tightened on your warehouse racking installation. Far from it. To protect your investment and keep your team safe, you need to think about consistent, proactive maintenance. Think of your racking less like a static structure and more like a critical piece of equipment that needs regular care.
A ‘set and forget’ attitude is one of the biggest—and most common—risks in warehouses. Day-to-day operations with forklifts, accidental bumps, and shifting loads all cause wear and tear. Left unchecked, a small dent can quietly compromise the entire system’s integrity, leading to dangerous and seriously expensive failures.
The best defence is a good offence. Building a formal maintenance schedule shifts you from just reacting to problems to actively preventing them. It doesn’t have to be complicated, but it absolutely must be consistent.
A smart schedule usually includes a few tiers of checks:
This layered approach helps you catch potential hazards early, long before they can turn into a serious incident.
Your team is on the floor every single day—they’re your first line of defence. Training them on what damage actually looks like is the crucial first step. Make sure they know how to spot and, just as importantly, report the common signs of trouble.
Your internal inspection checklist should focus on the big four:
A simple, visual guide posted in the warehouse can make a world of difference. A poster showing a ‘good’ beam connection versus a ‘damaged’ upright empowers your team to take ownership of safety.
Spotting the damage is only half the job. You need a clear, non-negotiable process for what happens next. As soon as an issue is identified, staff must report it to their supervisor immediately.
The next step is critical: isolate the affected area. The damaged bay, along with any adjoining bays, must be offloaded straight away and clearly cordoned off with safety tape or barriers. No one should be allowed near it until a qualified person has assessed the damage and carried out the necessary repairs.
Never, ever attempt makeshift repairs or try to bend a damaged component back into shape. It’s essential to use high-quality, manufacturer-approved replacement parts. With Super Rack’s superior quality components and nationwide service, you can get the right parts delivered fast, which minimises your downtime and guarantees a safe, reliable repair. This commitment is what keeps your racking system a dependable asset for years to come.
Even with the best plan in hand, tackling a warehouse racking installation for the first time can bring up a lot of questions. Getting the right answers upfront means you can move forward with confidence, ensuring your project is safe, compliant, and runs smoothly.
Here are a few of the most common queries we get from businesses across Australia.
This is the classic “how long is a piece of string?” question. The timeline really hinges on the size and complexity of your setup.
A small job with just a few bays of selective racking might only take an experienced crew a single day. On the other hand, a large-scale project with hundreds of bays, a high-density system, or a tricky layout could easily take several weeks from the first bolt to the final sign-off.
Other things that impact the schedule include site readiness, the experience of your installation team, and the specific type of racking you’re assembling. At Super Rack, our fast delivery and nationwide service network help speed this process up, getting your warehouse operational and earning its keep much faster.
In almost all cases, yes. Pallet racking isn’t just a big piece of furniture; it’s considered a permanent structure. Because of this, most local councils require a permit to make sure the installation complies with the Building Code of Australia and crucial standards like AS 4084:2023.
It’s absolutely vital to check with your local council’s planning department early. Trying to skip this step can lead to hefty fines and, in the worst-case scenario, an order to dismantle the entire system. A professional supplier like Super Rack can provide all the engineering specs and technical drawings you’ll need for a successful permit application.
Over the years, we’ve seen a few common—and dangerous—mistakes pop up during racking installations. Getting these right is the key to a safe system that will last for years.
The most frequent errors we see are:
Following the manufacturer’s installation guide and Australian Standards to the letter is your best defence against these issues.
While a DIY approach might be fine for a small shelving unit in your garage, professional installation is the only way to go for almost all commercial warehouse racking installation projects.
It’s not just about speed. A professional team ensures every component is correctly aligned, secured, and fully compliant with all safety standards. This protects your staff, your stock, and your business from serious liability. The expert team at Super Rack can offer practical advice and connect you with experienced installers to guarantee the job is done right the first time.
Ready to ensure your next racking project is a success? The team at Super Rack offers expert advice, superior quality products, and nationwide service to help you get the job done safely and efficiently.