Colorbond fence capping is the neat finishing rail that runs along the top of your fence panels. It’s not just for looks, though. This simple addition is crucial for stopping water from getting into your panels and posts, preventing rust and keeping your fence looking sharp for years.
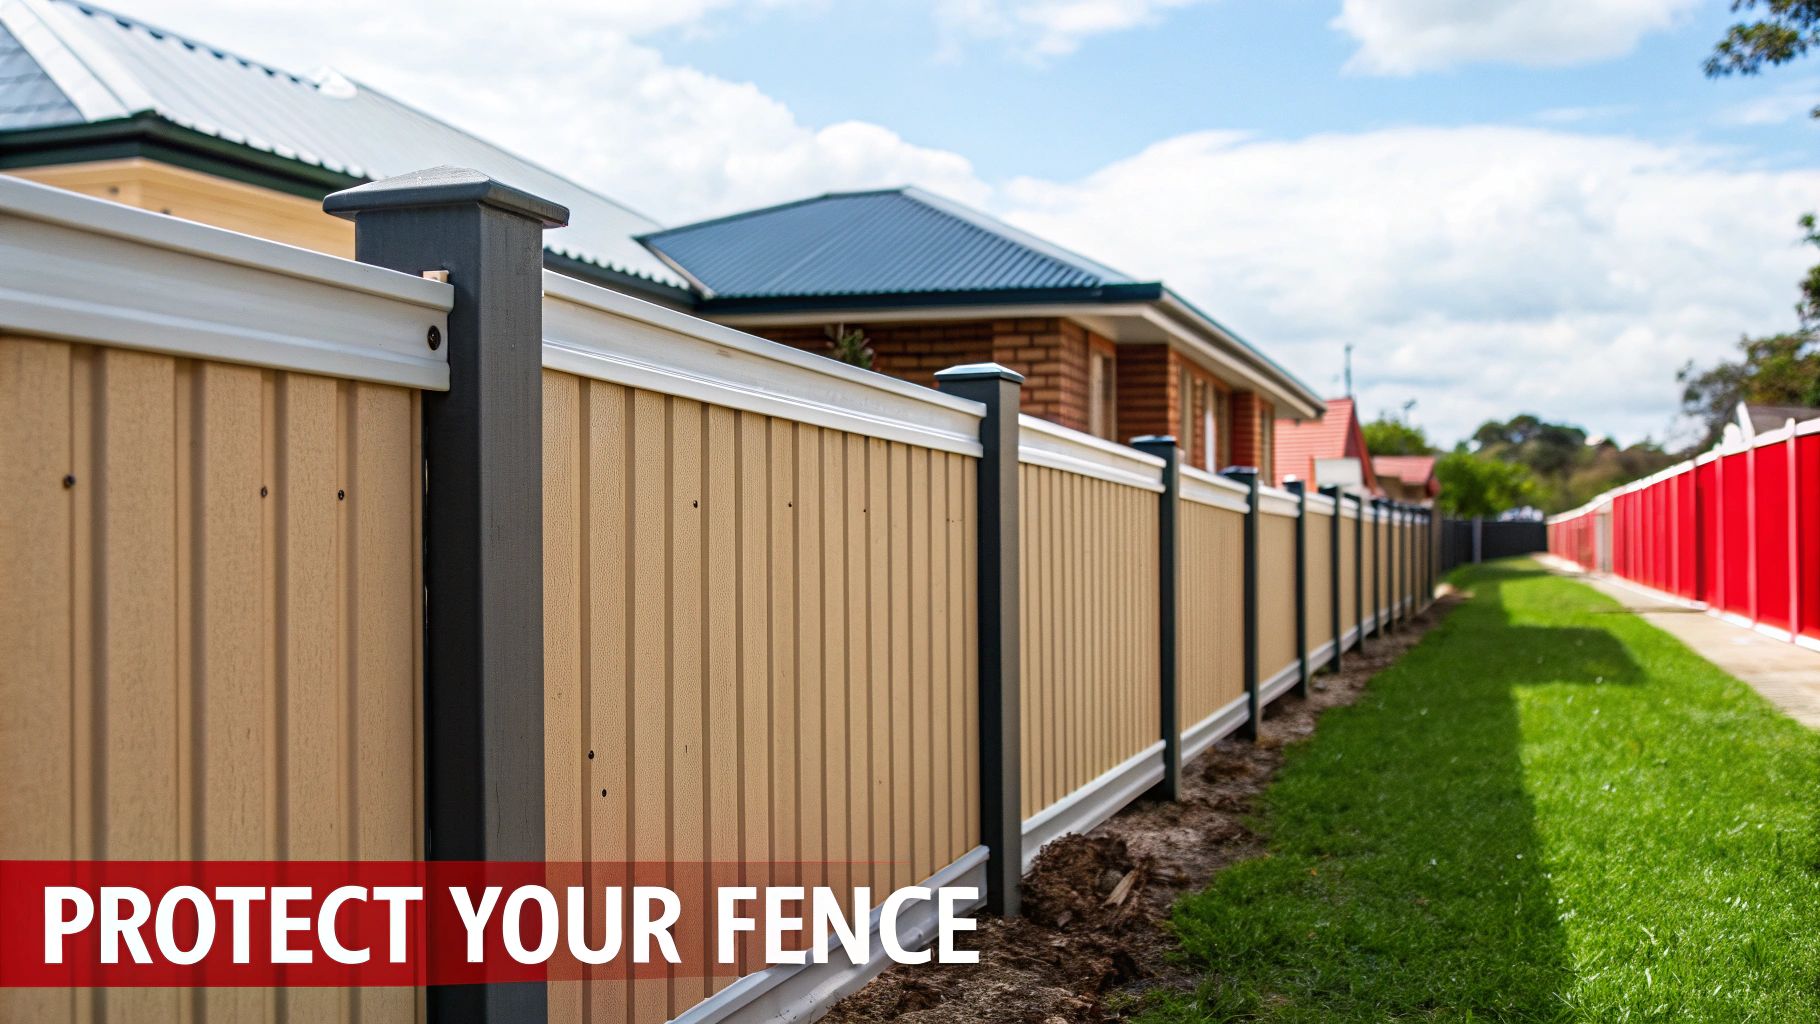
It's easy to see capping as an optional extra, but honestly, it's one of the smartest investments for your property. Think of it like a roof for your fence; without it, the fence is exposed to the harsh Aussie climate, which will shorten its lifespan.
By sealing the top edge, the capping channels rainwater away and stops moisture from sitting inside the posts and panels. This is your best defence against rust and corrosion starting from the inside out. It's a small detail that adds massive structural integrity.
Imagine two identical fences are installed side-by-side. One has capping, the other doesn't.
After five years of blistering summers and heavy downpours, the difference is night and day.
This simple example shows capping is all about protecting your investment and saving you from costly repairs later. For any permanent boundary, it's a no-brainer. If you have shorter-term needs, something like our high-quality temporary fencing solutions might be a better fit.
To get these benefits, you can't skimp on quality. At Super Rack, our capping is made from genuine BlueScope steel, so it’s built to handle Australia’s intense sun and driving rain. It also means you get a perfect colour match with your fence panels.
When you choose a trusted supplier like Super Rack, you’re getting more than just a product. You benefit from our superior quality, competitive pricing, and expert advice to ensure your project is done right from the start.
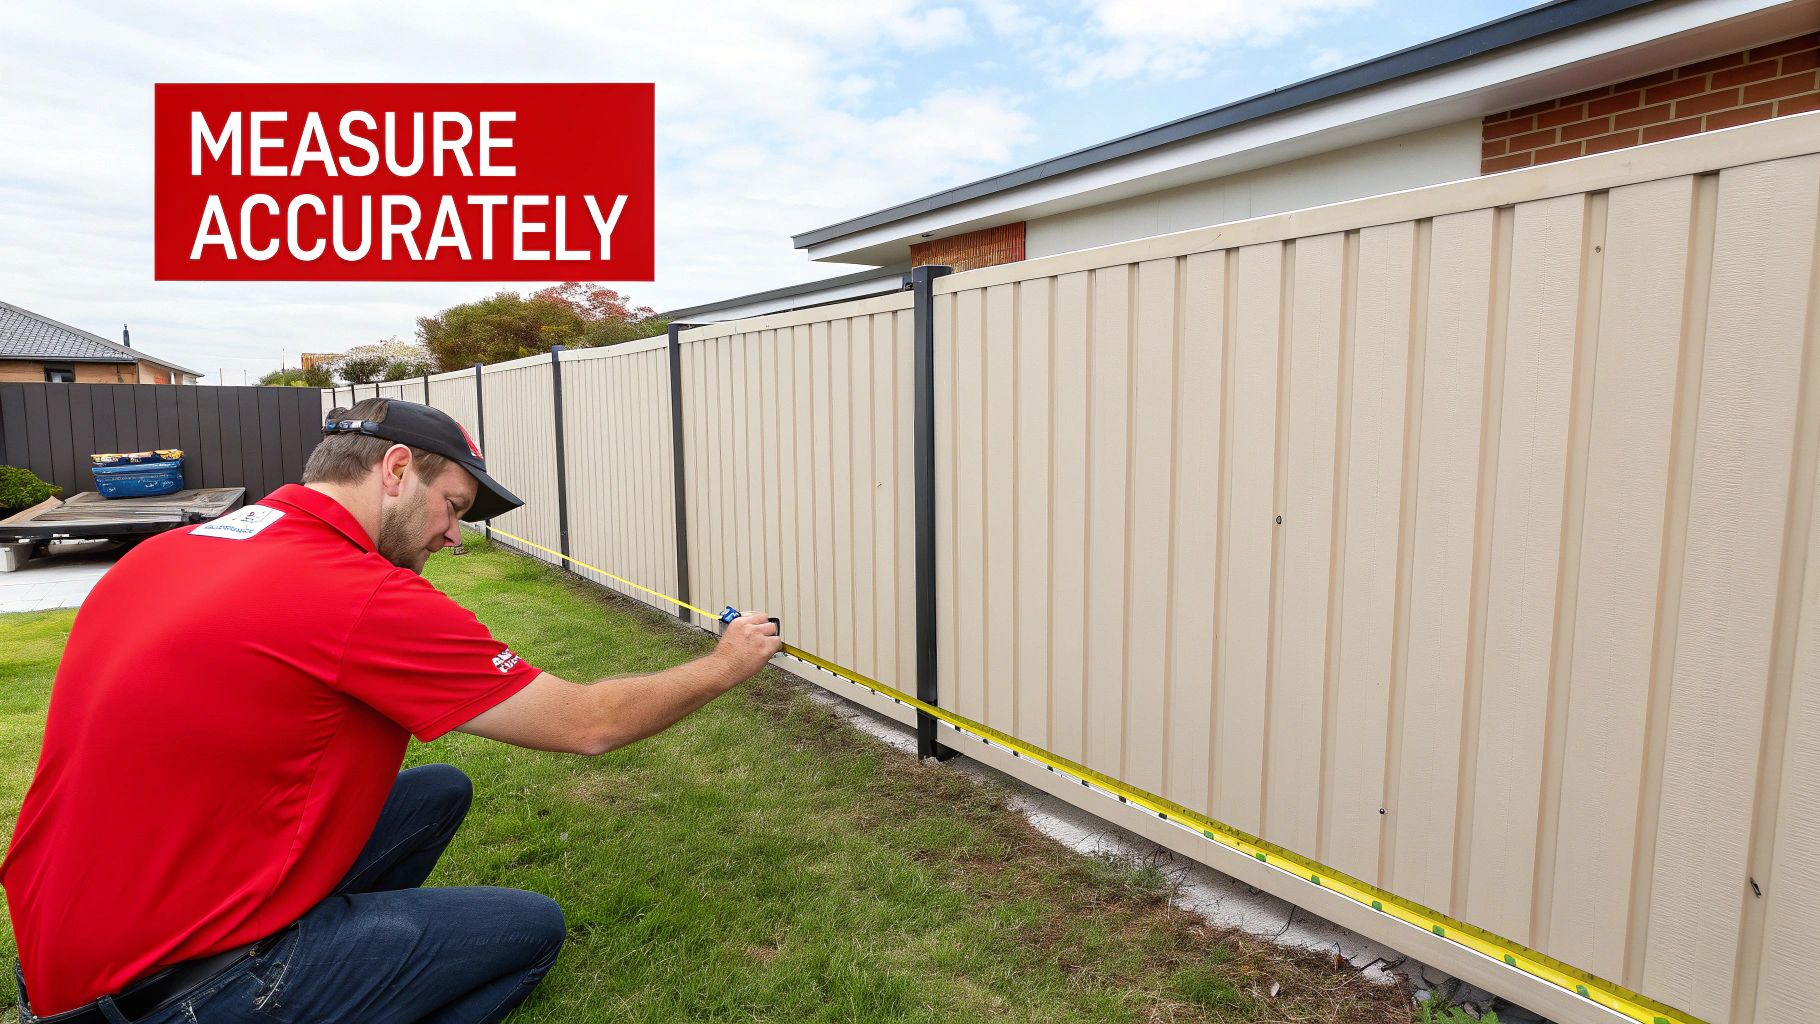
The old saying "measure twice, cut once" really pays off here. Getting your measurements right is the difference between a pro finish and a frustrating, expensive mess. Good prep work means no costly ordering mistakes or wasted materials.
Before you start measuring, it's worth understanding the bigger picture. If you're new to fencing, taking a look at our comprehensive guide to garden fence installation can give you some great foundational knowledge.
Ready? Grab a tape measure and walk the entire fence line, measuring each straight section from the inside of one post to the inside of the next. Don't guess—write down every number.
To work out how much capping you need, just add up all the individual measurements. Let's walk through a typical Aussie backyard scenario.
Say you have a long 20-metre run across the back of your property, with two shorter 5-metre sections down the sides. This gives you two standard 90-degree corners to deal with.
Add them together, and you have a total fence length of 30 metres. Capping comes in standard lengths—usually 2.365m, 2.4m, or 3.1m. Here at Super Rack, we stock lengths designed to minimise offcuts for common fence panel sizes.
To figure out how many lengths you need, divide your total measurement by the length of the capping you're buying. For a 30-metre fence using our 2.4m capping lengths, the maths is:
30 ÷ 2.4 = 12.5 lengths
You can't buy half a length, so you always need to round up. In this case, you'd order 13 lengths of capping. That extra bit gives you enough material to cover any cutting mistakes and handle the corners properly.
With your measurements sorted, it's time for the profile and colour. The capping profile needs to sit snugly over the top edge of your fence panels for a clean, rattle-free fit. If you’re not sure which profile suits your fence, our team at Super Rack can give you expert advice.
Getting the colour right is just as important. We stock capping in the full range of official Colorbond colours, so you can get a perfect match that makes the fence and capping look like one cohesive unit.
Nailing the planning phase makes the whole installation process a breeze. A few minutes of careful measuring means you can order with confidence. Plus, with our nationwide service and fast delivery, you’ll have your materials on-site in no time.
Nothing is more frustrating than starting a job and realising you've forgotten a crucial tool. Getting your gear sorted before you start is the key to a professional, clean finish on your Colorbond fence capping.
Think of it as setting up your workspace. A little organisation now prevents a lot of headaches later, letting you get into a smooth rhythm once you start cutting and fixing.
Most of these are probably already in your shed. If not, they're a solid investment for any DIYer.
The quality of what holds your capping down is just as important as the capping itself. Using the right fixings ensures your hard work stands up to the Aussie weather.
A professional finish is all in the details. Using colour-matched screws and a high-quality, UV-stable silicone means every part of the job looks right and performs perfectly.
Here’s what you'll need:
Having the complete toolkit ready is a huge step toward a successful installation. At Super Rack, we don't just supply top-quality capping; we can also give you expert advice on the best tools and fixings for your project. You can browse a wide range of essentials in our online shop to get fully prepared.
Right, with your tools and materials ready, it's time to get this done. Installing Colorbond fence capping is a satisfying final step that gives your fence that sharp, professional look. We'll walk through the process stage by stage.
The whole job boils down to a few key actions: prepping the fence, cutting the capping with precision, and fixing it securely.
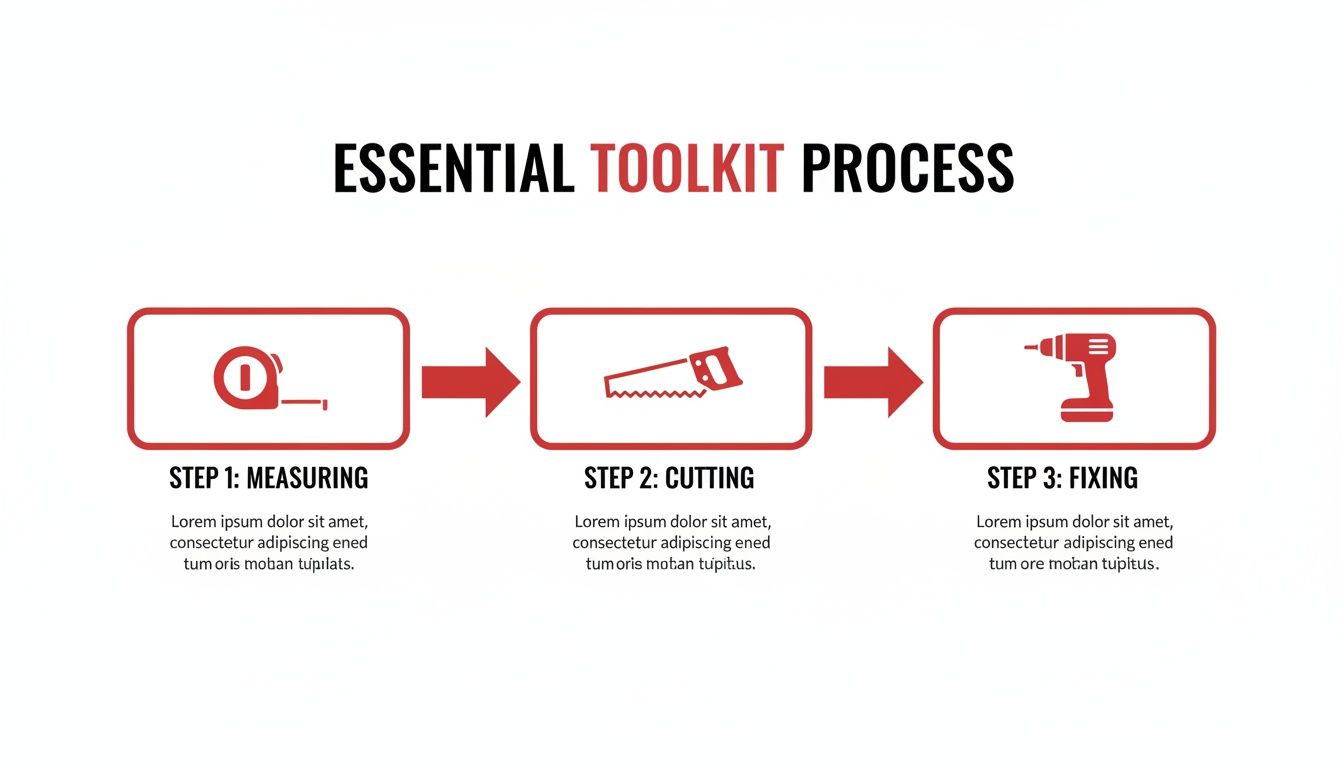
This graphic is a great reminder of the simple workflow: measure twice, cut once, and fix properly. Nailing these three phases is the secret to a great finish.
First things first, give the top of your fence a good clean. Run a cloth along the top of the panels to wipe away any dirt, dust, or spiderwebs. This simple step ensures the capping sits flat and helps sealant get a proper grip.
While you're there, double-check that all fence panels are secure. If anything feels loose, tighten it up. You can't get a straight capping line on a wobbly fence.
This is where attention to detail pays off. For straight runs, measure the distance between the inside faces of your fence posts and transfer that measurement onto a length of capping. Use a fine-tipped marker for a crisp line.
If you have a long fence that needs multiple capping lengths, aim for a neat butt joint. Ensure the ends are cut perfectly square so they sit flush against each other. It usually looks cleaner to have these joins meet in the middle of a panel, rather than over a post.
For corners, a 45-degree mitre cut is the only way to get a seamless, professional finish. Measure carefully to the point where the two fence lines meet, mark your 45-degree angle on both pieces of capping, and make your cuts. They should come together to form a perfect right angle.
Pro Tip: After every cut, run a small metal file along the sharp edge. This deburrs the metal, removing tiny filings. It makes the capping safer to handle and helps prevent rust from starting on the exposed steel.
Once a piece is cut, place it on top of the fence panel. Use a rubber mallet to gently tap the capping down until it sits snugly. You're looking for a firm fit with no rattling.
When fixing it in place, consistency is key. A good rule of thumb is to place a screw or rivet at every second or third 'rib' of the fence panel. This provides plenty of strength without looking cluttered.
Use a drill with an adjustable clutch setting for screws. Start with a low torque to avoid overtightening. If you go too hard, you risk stripping the thread or denting the capping. You want the screw to be snug, not cranked down with all your might.
For those in high rainfall areas, properly sealed capping is essential. Suppliers like Stratco Australia and Australian Landscape Supplies offer solutions designed to completely seal post tops and stop water getting in, which is a major cause of corrosion.
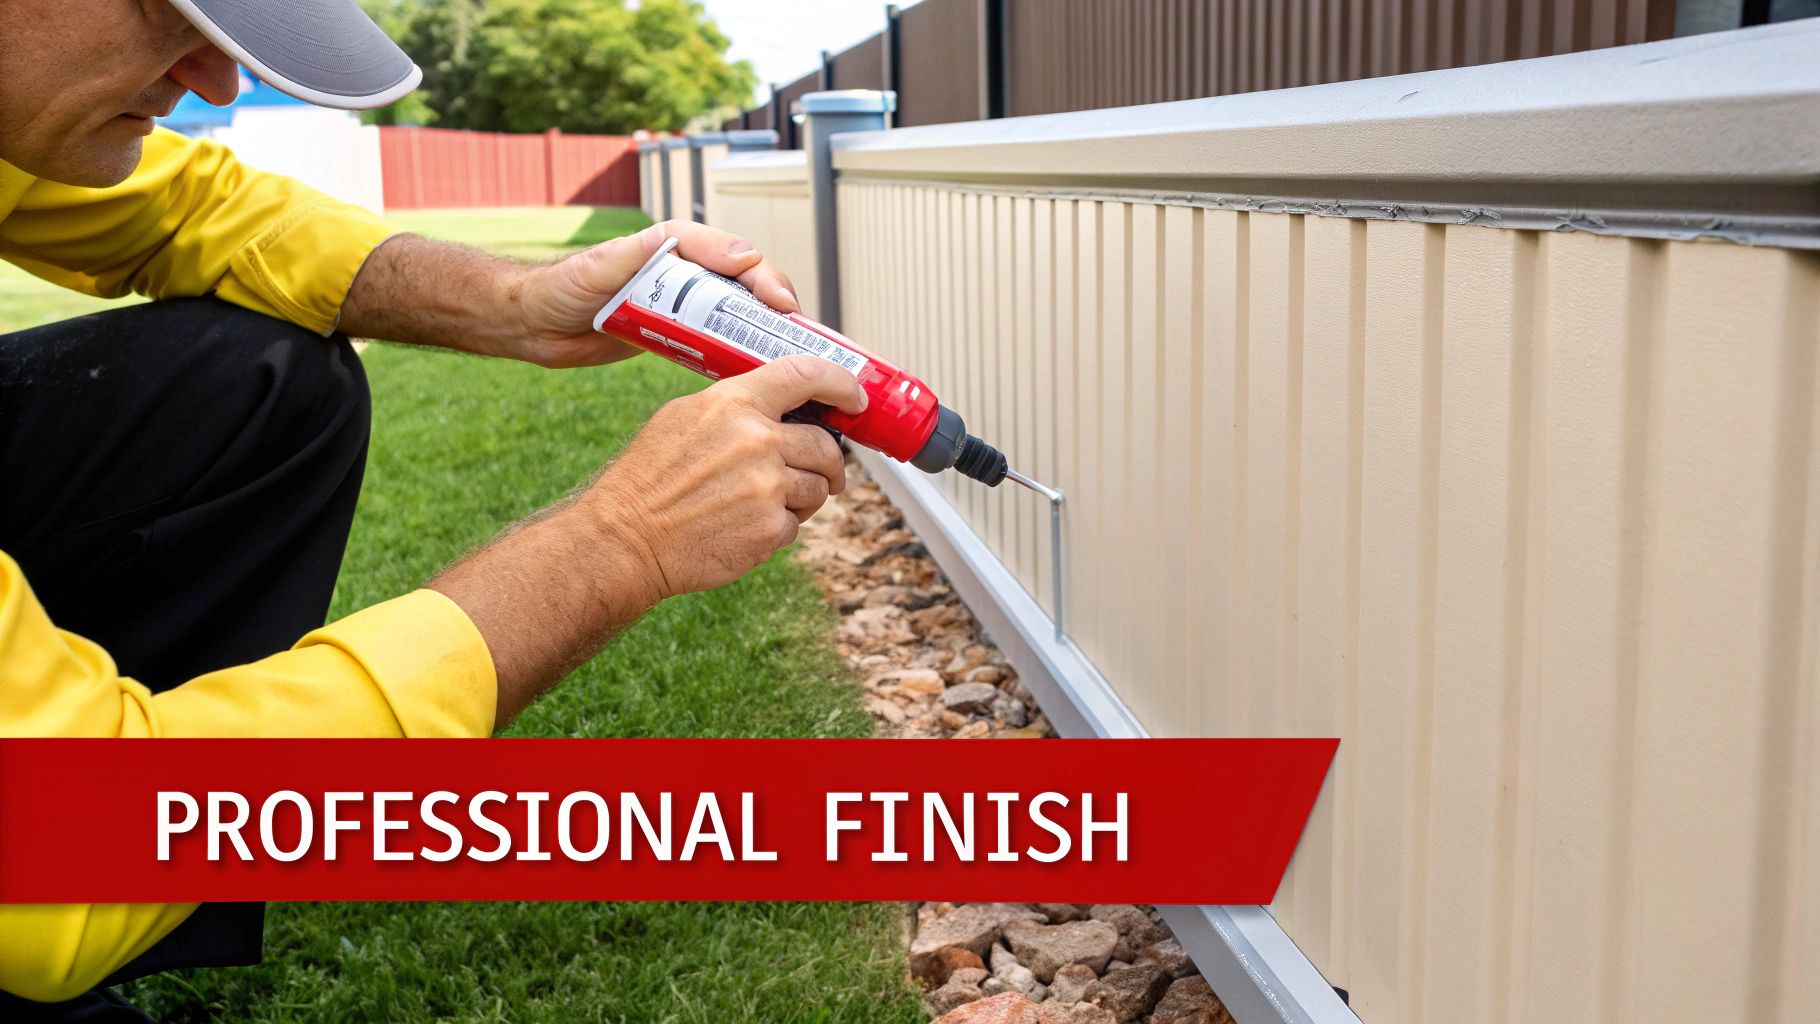
The difference between an average job and a professional one comes down to the final details. It’s these small touches that turn your hard work into a durable, great-looking feature.
One of the most critical last steps is sealing all your joints. A clean bead of colour-matched silicone sealant along corner joints and where capping meets end caps creates a fully weatherproof seal. This is your best defence against moisture, keeping the capping secure and rust-free.
Your new Colorbond fence capping is built for low maintenance, but a little care goes a long way. All it needs is a quick check-up once a year.
Just give it a wash with a soft brush and some mild detergent in water. This gentle clean gets rid of any built-up grime or dust. It’s a tiny bit of effort that preserves that fresh, clean look. In fact, it’s the secret to long-lasting exterior protection, as simple cleaning is key to maintaining any quality finish.
Life happens—a stray footy or a minor bump can sometimes cause damage. The good news? Replacing a damaged bit of capping is straightforward. You can simply unscrew the affected piece, cut a new length, and fix it back in place.
This is where it really pays to have chosen quality materials from the start. A premium finish from a trusted supplier like Super Rack ensures the new section will blend in perfectly with the rest of your fence.
If you’re looking at other boundary solutions that demand the same level of durability, you might want to check out our guide on setting up modular mesh panels. By sticking to quality materials and simple upkeep, your fence capping will provide lasting protection for years to come.
Even with a detailed guide, a few questions always pop up. Let's run through some common queries about Colorbond fence capping to give you extra confidence.
Absolutely. Adding capping is a fantastic way to give an older fence a facelift and add much-needed protection. It really sharpens up the look.
Just check the top edge of the fence first. Give it a quick inspection for any serious rust or damage. If it’s just grubby, a good clean will sort it out. But if the panels are badly corroded, you’ll want to deal with that before fitting the new cap.
Gates need capping too – it keeps the look consistent and protects the frame. The process is pretty much the same as the rest of the fence.
Measure the top rail of the gate frame and cut a piece of capping to fit neatly between the uprights. Fasten it down with colour-matched screws or rivets, same as you did with the fence panels. This stops water from pooling inside the gate's hollow frame and causing rust.
Getting a clean, straight cut comes down to two things: the right tool and careful marking. A circular saw with a fine-toothed metal cutting blade is your best friend here – it gives a much cleaner edge than an angle grinder.
When you mark your line, use a fine-tipped marker and a builder's square to keep it dead straight. And remember the old wisdom: measure twice, cut once. It’ll save you a world of frustration.
Pro tip: Clamp a straight bit of timber along your marked line. It acts as a perfect guide for your saw, stopping the blade from wandering and guaranteeing a straight cut every time.
Starting with a quality supplier is the best way to ensure you get superior materials and the right advice from the get-go. At Super Rack, we don’t just supply top-grade capping; our team offers expert advice to help you sort out any project challenge.
For all your fencing and storage needs, trust the team at Super Rack. We offer competitive pricing, fast nationwide delivery, and quality you can rely on.